

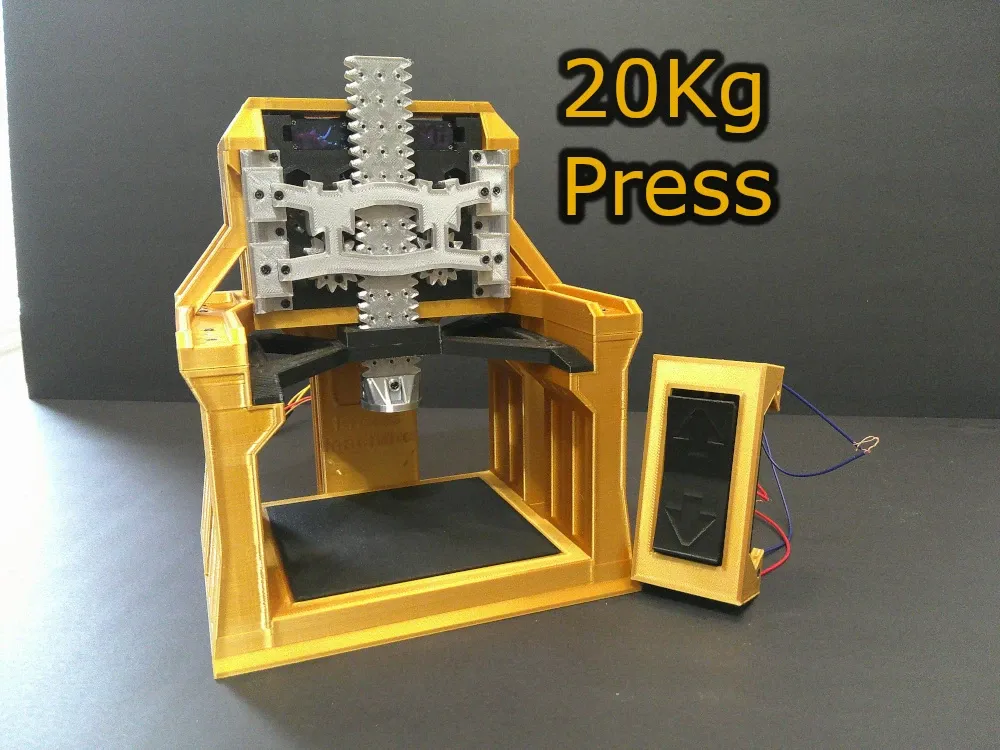
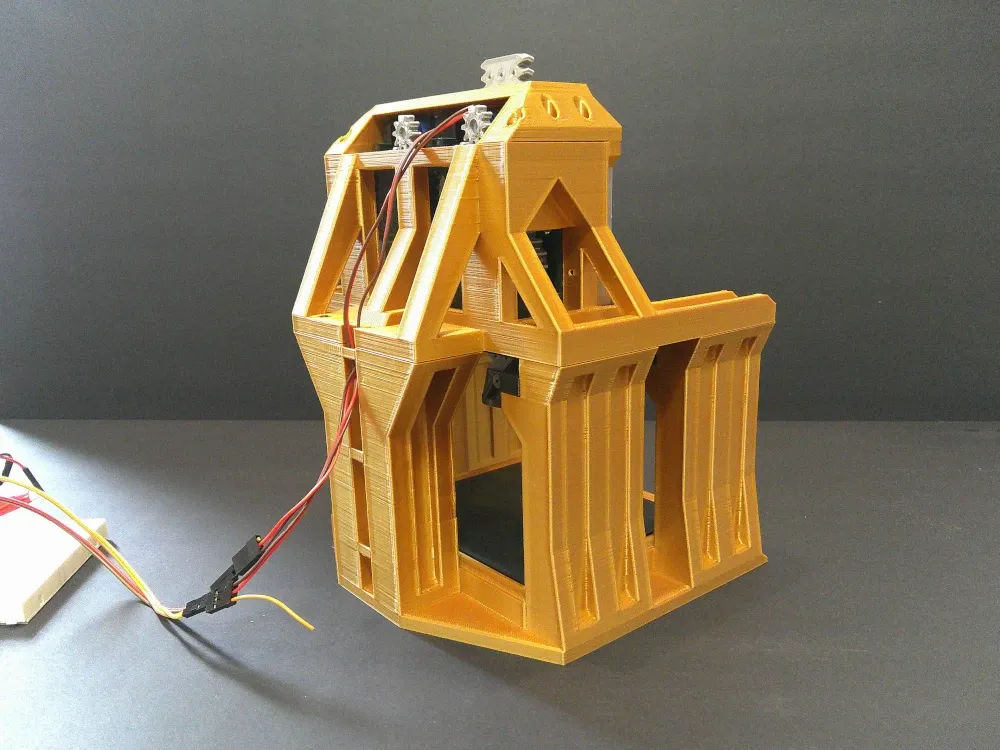
20kg Mini Press! Hydraulic press with no complex electr..
(Description / Instructions)
Help make me known as a creator! (Follow, share with mention, etc.) Thank you! 🦾🦾🦾
Construction video (Press Machine + SG99) after the presentation images.
Includes:
- The Press Machine
- Button with no electronics.
- 2x SG90 to build the SG99. (Patience and attention to detail required!)
- The SG99 can be used for other projects and comes with mods (Arms, Horn, Piston and Double Piston)
This is the Press Machine, a mini 20 kg press that uses two SG90 motors to build the SG99s, wire, M2 screws, and a rubber band! The control lever also uses no electronics and is simple to build!
No support is needed. No post-processing or lightly sandblasting the part (Stabilizer).
(-Important-)
- Use the SG99-v4 supplied with the mini press.
- Use the dual piston mode of the file (the press Machine.zip)
- For the controller, you need to make sure the wires cover as much surface area as possible. Glue the wires in place and solder them if possible; otherwise, the controller might be a bit temperamental!
2x SG99 engine tutorial:
- Video and instructions at the bottom of the description
Construction Video:
Test Video:
Happy printing, Makers!
-------------------- SG99.v4 Instruction. -----------------------------
- 10kg/cm motor for $3. 😱
- Uses M2 type screws
- Current: 300 / 700 milliamperes
- 6v: 10-rpm (9 to 14 kg/cm)
- Weight: 60g (With SG90)
- Mods: Arms, Horn, Piston and Dual Engine Piston.
(## Important ##):
The print settings and video instructions are of great importance. (Post-processing (Adjustment of gear holes and smoothing of imperfections), assembly and bushing (Gear height adjustment and friction limitation) ). Smooth all the parts, remove the seams and adjust the center of the gears with a round file so that it turns without resistance with the least possible gap.
Adjust the speed of your 3D printer for precision printing.
Use good quality PLA+ that adheres well and is not brittle. Your 3D printer must not have any major printing defects.
The SG90 must be fixed (gear to the right) when you hold the SG99 towards you, SG90 motor upwards.
(Direction standard not mandatory, but recommended) The SG90 (DC/Continuous) converter must rotate clockwise (Red wire = + / Black wire = -) and counterclockwise (Red = - || Black = +). Otherwise, simply reverse the current to correct it.
Piston mods use herringbone gears, if they don’t seem to fit together well it’s just because they’re not in the right direction.
You can use the PRINT engine in your own creations and do whatever you want with it. However, the files do not need to be included with your STL files.
Post-processing / Instructions:
https://www.youtube.com/watch?v=tQ2Lul9z7Tw
Les “Bushings” sont essentiel pour limité la friction, ajuster correctement les engrenages, amélioré la longévité et augmenté la puissance du moteur dans certaine application.
Good post-processing and a clean print are essential.
(filed / sanded the joints on all dynamic parts or parts that will undergo friction.
Parts and tools:
360-degree SG90 engine.
or to hack the SG90 to make it 360 continuous. Hack DC/Continue (Simple): https://www.youtube.com/watch?v=h4Xd1ndEjTE&t=46s
Obtain M2 type screws (self-tapping): https://www.amazon.ca/-/fr/auto-taraudeuses-acier-carbone-fraisée-travail/dp/B07GB4PPDJ/ref=sr_1_5_pp?crid=2N6K6LOWU8FZJ&keywords=m2%2Bscrew%2Bkit&qid=1703618869&sprefix=m2%2Caps%2C78&sr=8-5&th=1
SG90-Miuzei- (180): https://www.amazon.ca/dp/B07H85M78M
SG90-TZT-(90,180,360 PWM): https://fr.aliexpress.com/item/1005005921436297.html?spm=a2g0o.order_list.order_list_main.41.21ef5e5bR3b8CO&gatewayAdapt=glo2fra
Sandpaper, a flat file and a round file.
Silicone grease for FDM printers (Optional for longevity)
Happy printing!! 🦾🦾🦾